The Northern Lights
The sun regularly emits electrically charged gas, so-called plasma. The solar winds send the plasma towards Earth, where the Earth’s magnetic field deflects much of the plasma. A small part, however, is attracted by the magnetic poles. The charged electrons and protons hit the oxygen and nitrogen atoms in the earth’s atmosphere and react with each other, resulting in an energy transfer. When the energy level in the electrons falls again, a fluorescent light is created, the polar light.
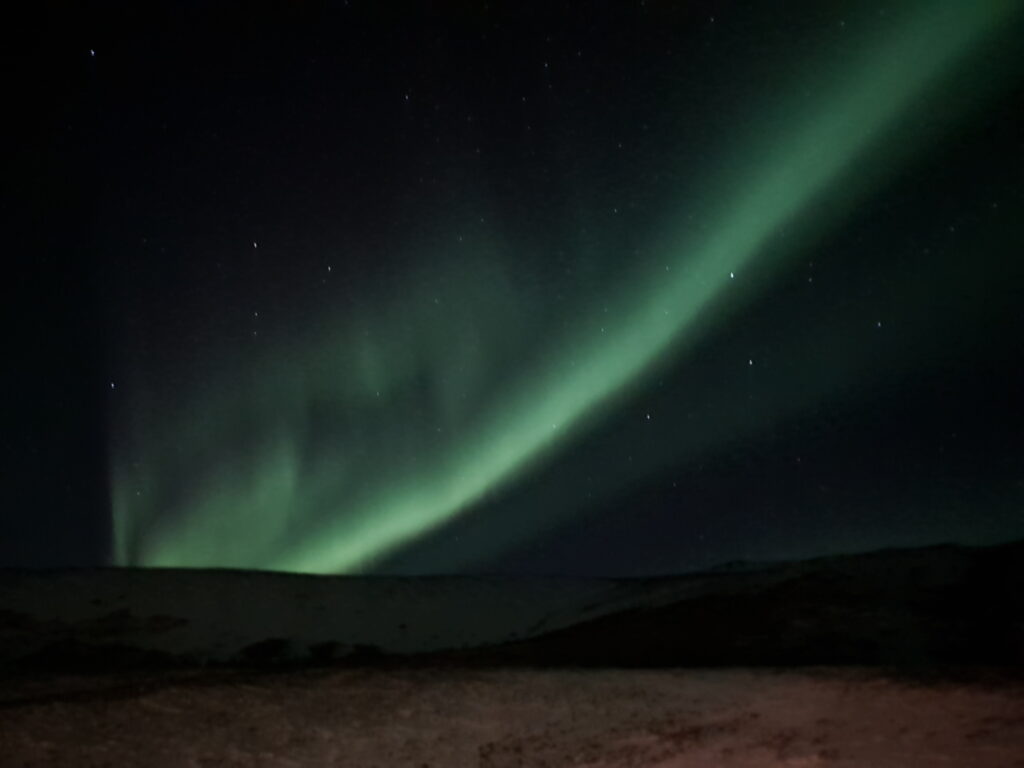
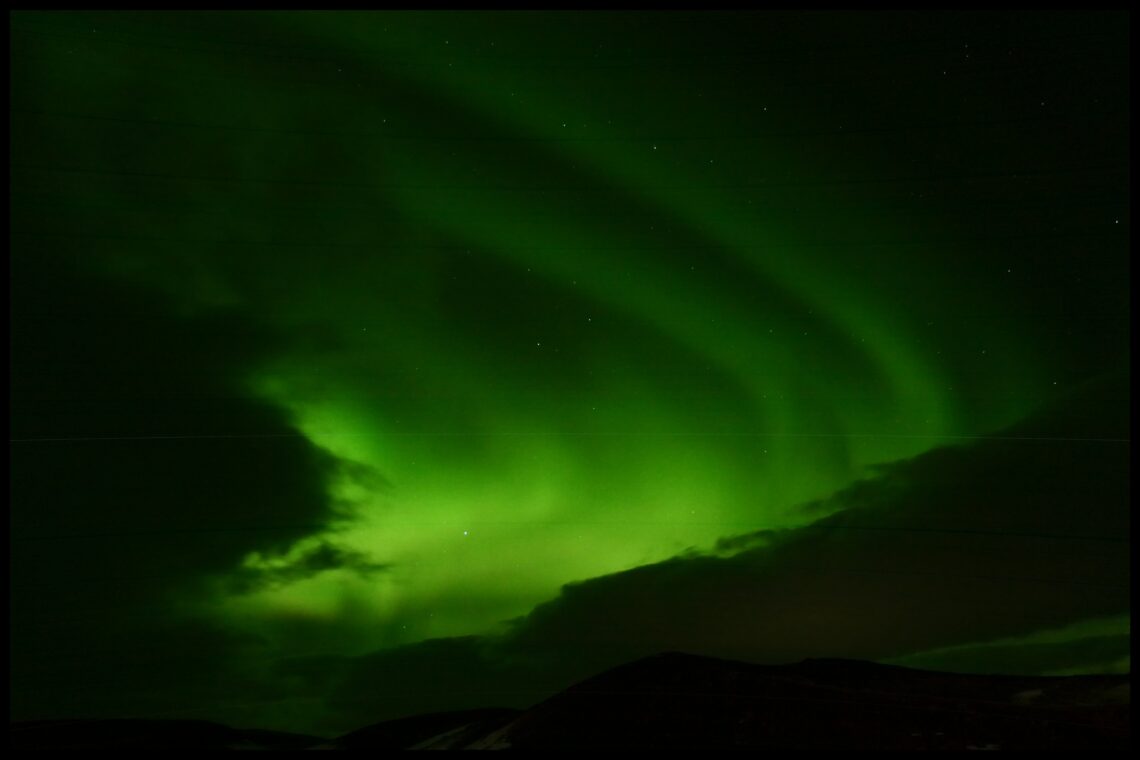
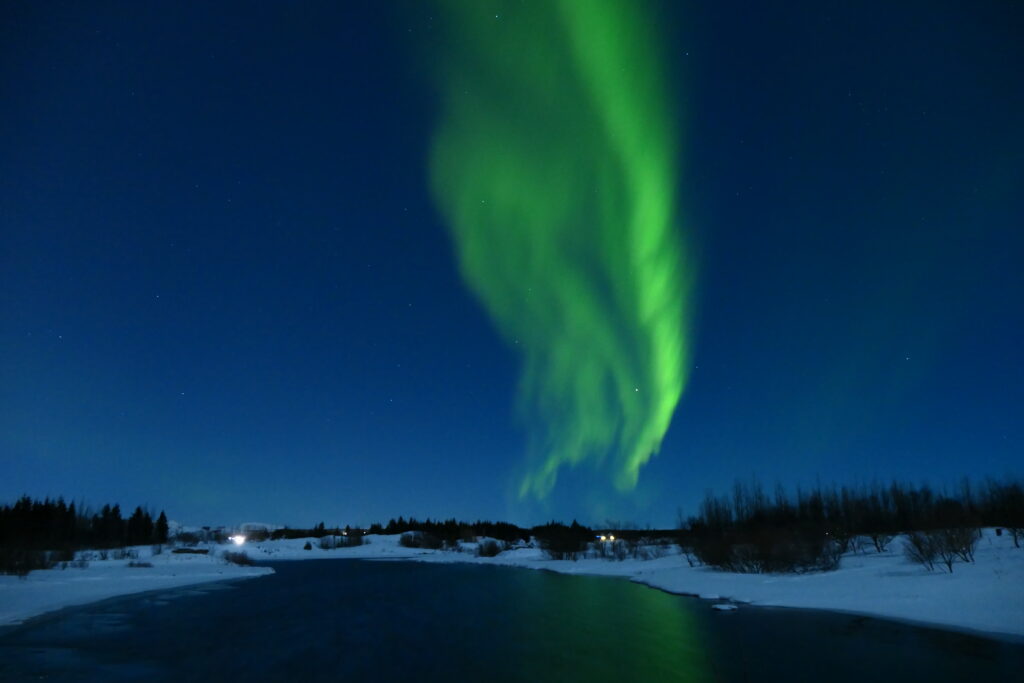
Northern Lights can appear in different forms depending on the intensity of the solar winds. The most common form is a long arc above the horizon. There are also flowing bands, curtains, rays or diffused surfaces. The “grand prize” is the dancing and colorful corona.
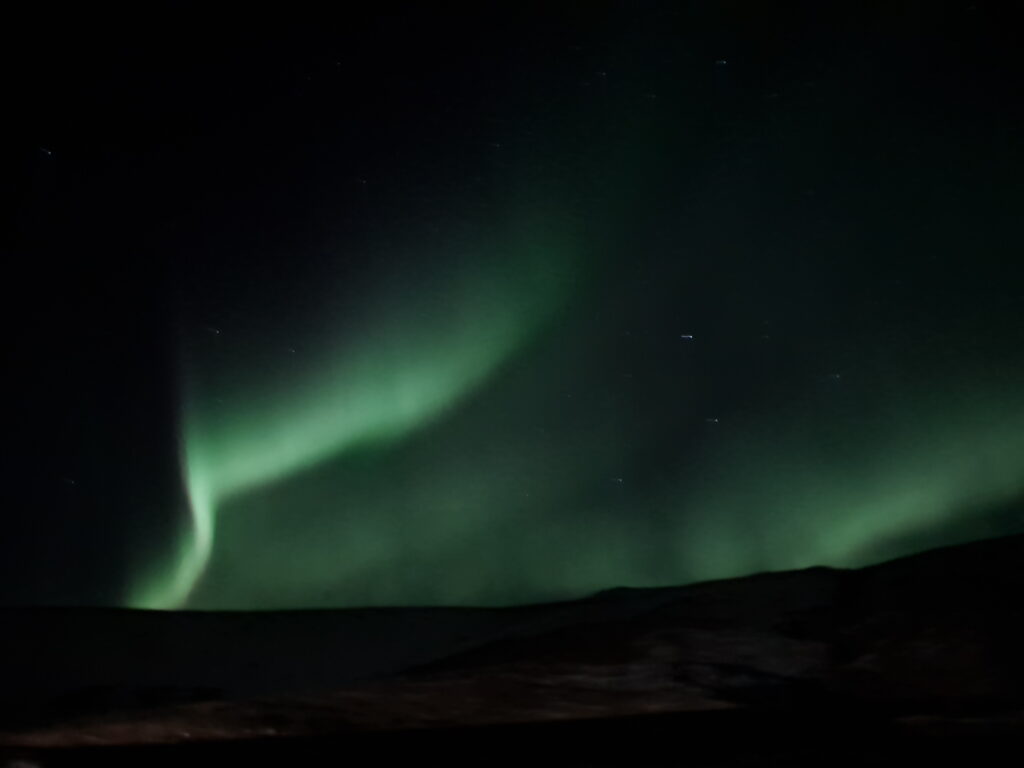
The aurora can appear in different colors. Which these are is determined by the altitude as well as the concentration of oxygen and nitrogen in the atmosphere. The most common color is green (between 95-250 km altitude) and the rarest is red (between 80-100 km and over 250 km). Pink, violet and blue (around 95 km altitude) are also possible, but the latter two are often very difficult to see against the dark sky.
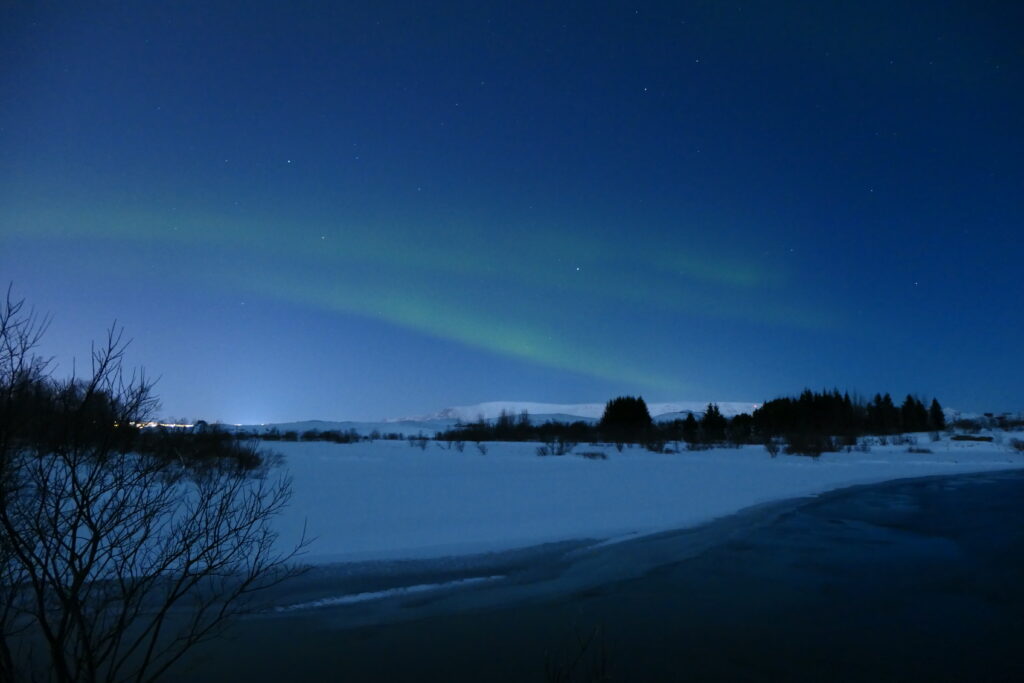
But beware! The human eye is much less sensitive to light than a camera lens, which is why the northern lights are often perceived as more of a greyish fluorescent color. So don’t be disappointed if you don’t see bright green veils.
In general, the northern lights are “always” there, but it only gets dark enough in Iceland to actually see them between mid-August and mid-April. At the beginning and end of the season, however, the night is still relatively short, so the ideal time is between mid-September and mid-March.
Northern Lights do not follow a schedule, there is no specific time when they occur or which is more suitable. So my recommendation is, as soon as it’s dark outside, go out regularly to check for yourself.
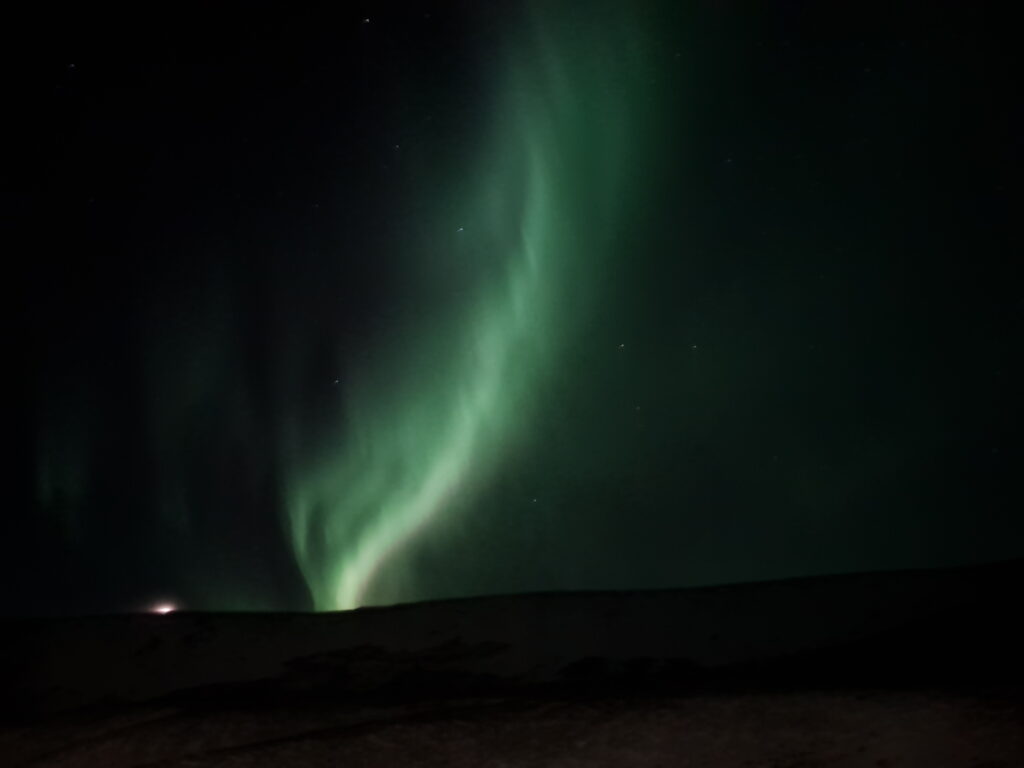
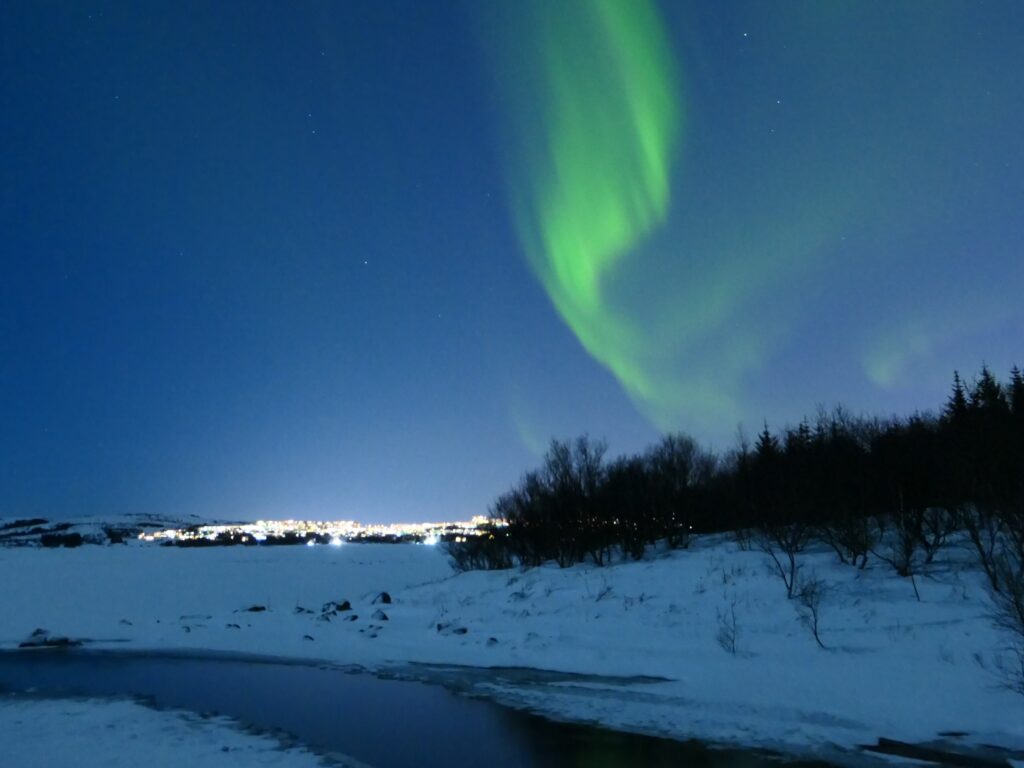
Northern Lights are a natural phenomenon that takes place in the sky and can therefore be seen from anywhere you have a clear view of the sky. In addition, it must be dark, the further away you are from artificial light, the easier it is to see the northern lights. But when they are strong you can also see them in the city. The moon can sometimes be a nuisance as a natural light source, but it is often actually helpful (see “Tips for photography”). And finally, the sky must be clear, clouds prevent a clear view. A good guide is that if you can see stars, it’s also possible to see the Northern Lights.
Not necessarily. If you have your own car and feel comfortable driving in the dark, you can easily go ‘Northern Lights hunting’ yourself (see the explanations below for reading the forecasts). Tour guides also don’t have a secret recipe or switch to turn on the polar lights.
A tour makes sense without a car. I recommend booking a minibus or private tour as the vans are more flexible than the big tour buses. In addition, the support is more personal and the guides often take photos of you with the Northern Lights and help with your own camera settings. You should also plan a Northern Lights tour at the beginning of your trip. If you don’t see any, you can usually book again for free.
A good Northern Lights spot that can be reached by city bus (Straeto line 11) from Reykjavík is the Grótta lighthouse on the Seltjarnes peninsula just a few minutes outside of the center.
The so-called KP index (numbers from 0 to 9) indicates how strong the disruption of the earth’s magnetic field by the solar winds is. The higher the number, the stronger the possible northern lights, but also the greater they spread to more southern latitudes (e.g. at KP 8 the northern lights would even be visible in Germany or New York, but probably no longer in Iceland, since the northern lights oval is too low). The KP index can be an indicator but is not a prediction of actual activity. I already saw great Northern Lights at KP 2 while at KP 5 they were rather weak.
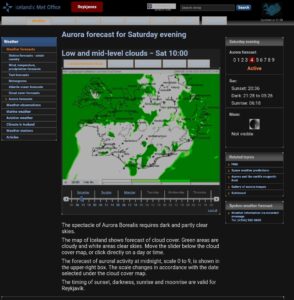
The Icelandic Weather Service website provides comprehensive information. In addition to the KP value and the times for rising and setting of the sun and moon, the map shows where the sky is cloudy (green) or clear (white).
An easy-to-understand app is Hello Aurora. There are explanations for various indicators, the most important component of which is the Aurora Strength, the lower the value (negative), the higher the probability that the northern lights can be seen in that moment. There is also a map showing cloud cover (the darker the yellow the denser the clouds) and other users can share sightings and photos. What makes the app so useful is that you can receive push notifications when other users see the polar lights; so you can wait inside and stay warm.
The Glendale app is an exciting but also very detailed and sometimes somewhat complicated app. There is also a wide variety of data and info boxes here, it is best to read up on the explanations and soon you will be an expert in reading the northern lights forecast. Many professional photographers use this app and there is also the option to receive reports of sightings.
Camera settings: use manual mode M, focus to “infinity”, set to the smallest possible aperture (F4 or lower), ISO 1600 – 6400 and shutter speed 10 – 30 seconds.
Photo settings mobile phone: use the pro mode and try the same settings as above (focus on “infinity“, smallest possible aperture (e.g. f1.5), ISO 800 – 3200, shutter speed 2-15 seconds depending on how you feel). Important: do not use filters or the flash.
- Be sure to use a tripod (even if you’re taking photos with your mobile phone), even the slightest vibration will blur your picture. Also use the timer to delay the shutter release, since you move the camera again when you press the shutter button.
- ISO increases image brightness but may cause image noise (“grainy” images). The more light around you or the brighter the aurora, the lower you can stay with the ISO. If necessary, try to increase the exposure time before you go higher with the ISO.
- The faster the aurora moves, the shorter the exposure time should be, otherwise everything will appear blurry.
- Also try to include a nice foreground (landscape, buildings, people etc.) to give the picture more perspective. Lakes or rivers offer a great opportunity to capture the reflection of the Northern Lights.
- Light the foreground, e.g. with the car headlights or a flashlight. The moon can also be helpful in identifying structure and landscape on the ground.
The Aurora Reykjavík – the northern lights center museum in Reykjavík’s old port area offers a very informative exhibition on the Northern Lights. And in the planetarium of Perlan a northern lights show runs several times a day.